CLASSIC CAR METALWORK AND FABRICATION
ERWYD CLASSICS
Mercedes Pagoda
The Mercedes-Benz Pagoda was known for its elegant design, luxurious interior amenities, and powerful engines. It was popular among European aristocracy and wealthy business executives, and it remains a sought-after collector's item today.
Some interesting facts about the Mercedes-Benz Pagoda include:
-
Béla Barényi (1907-1997) was a Hungarian-born engineer who worked for Mercedes-Benz from 1932 to 1972. He is considered one of the most important designers in the history of the company and is credited with creating many of the iconic Mercedes-Benz designs, including the Pagoda.
-
The Pagoda was one of the first cars to feature a rear-mounted fuel tank, which helped to improve its aerodynamics.
-
The Pagoda was designed to be a grand touring car, with a focus on comfort and luxury rather than high-performance driving.
-
The Pagoda's roof design was inspired by the company's racing cars, which featured similar designs.
-
The Pagoda was popular among famous people, including James Bond author Ian Fleming and actor Steve McQueen.
This stunning classic car was acquired at an auction, presented as a fully restored vehicle. However, upon closer inspection, it became apparent that the body panels were not aligned properly. Despite our best efforts to rectify the issue, further examination revealed the extent of the vehicle's condition to be more extensive than initially thought. As a result, our customer decided to opt for a comprehensive restoration project, allowing us to bring this beauty back to its former glory.
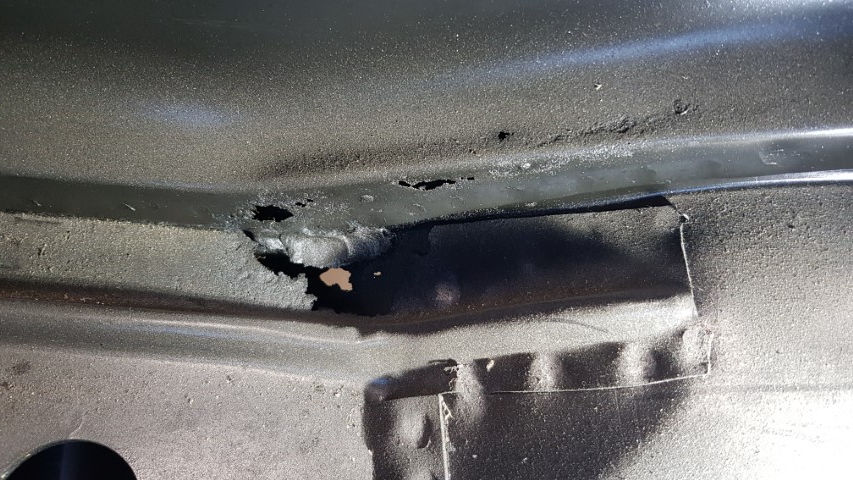
After stripping the vehicle of its paint and other components, we conducted a thorough inspection using a precision jig. This allowed us to examine the vehicle's underlying structure in detail. Our investigation revealed a complex web of patchwork repairs throughout the vehicle. Upon further investigation, we discovered that the previous restoration had involved cutting up the entire vehicle, which had caused it to collapse. The subsequent welding of the panels back together resulted in a significant loss of the original measurements, making the restoration process even more challenging. This unexpected discovery added a layer of complexity to the project, requiring us to adapt our approach and develop a customized plan to restore the vehicle to its original specifications.
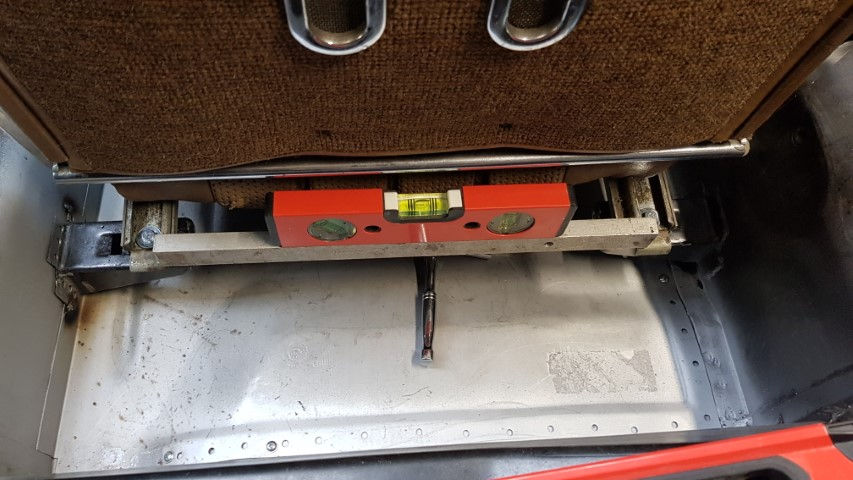
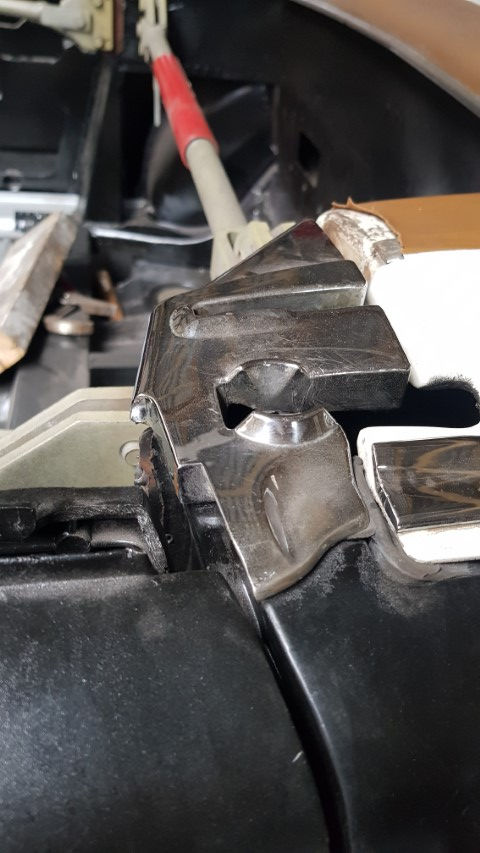
Prior to beginning a restoration, we meticulously fit new panels to identify potential structural issues with the vehicle. This process involves setting the hinges to a neutral position (0 value), which ensures that the panels are properly aligned and gaps are acceptable. By doing so, we can quickly identify which panels require additional attention during the restoration process to achieve precise gaps and effortless door closure.
As part of the restoration process, we not only restored the original joints but also crafted new one to guarantee a precise and secure fit.


In our restoration process, we always begin by addressing the sills of the vehicle, as they are the critical structural components that provide the foundation for the entire vehicle. Even when working on a precision jig, we take a meticulous approach by tackling one side of the vehicle at a time. This method ensures that the vehicle remains as rigid as possible, allowing us to maintain precise control and accuracy throughout the restoration process.
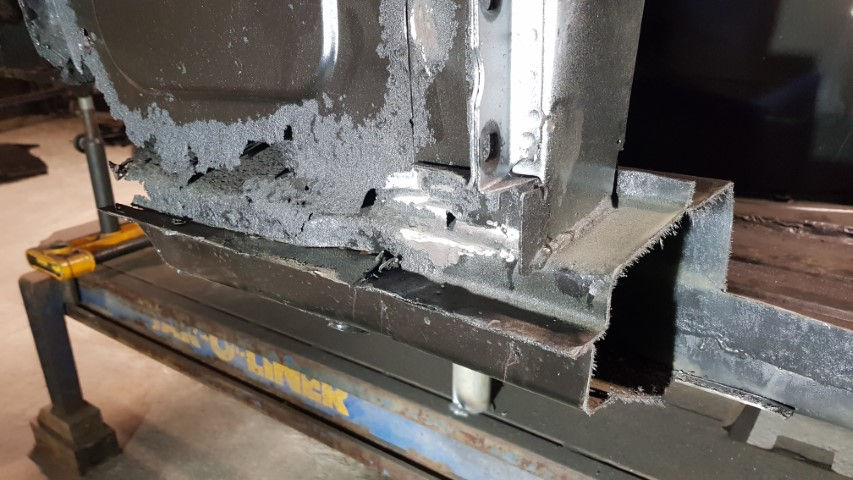

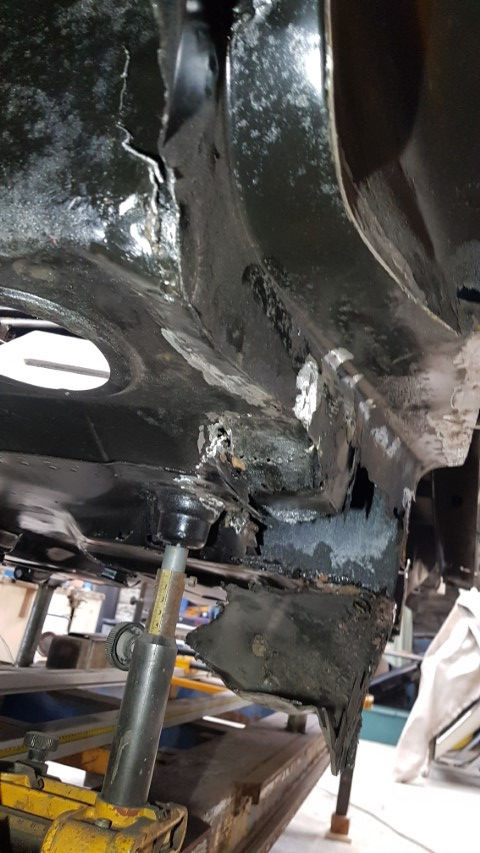
While we were fortunate to have some aftermarket parts of the rear chassis legs, we still needed to fabricate additional components to complete the entire rear chassis leg. This involved combining the available parts with newly created elements to ensure a sturdy and accurate restoration.
Unfortunately, this was not the case for the front chassis legs, where we lacked any aftermarket parts. As a result, we had to fabricate the entire front chassis leg from scratch, requiring a more extensive and time-consuming process.


We continued working on the front chassis leg, a crucial component in the restoration of our classic car.
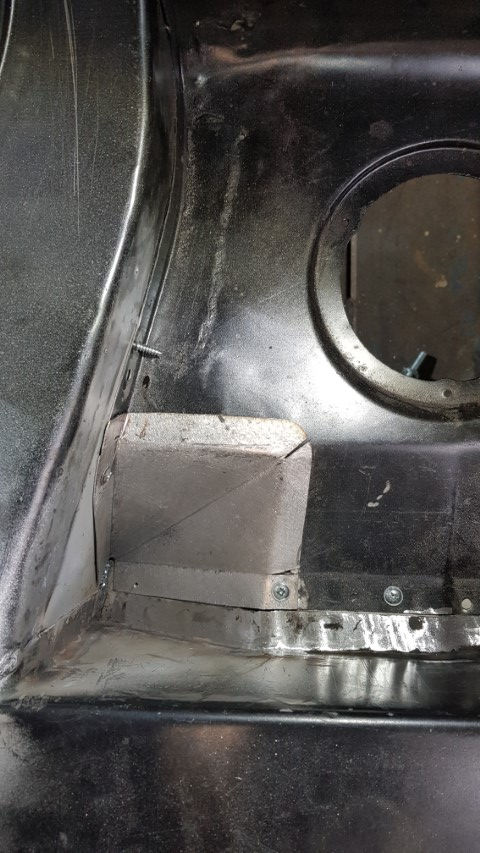
Next, we fabricated the supporting structural elements that make up the vehicle's skeletal frame. These components were then carefully combined and fitted into place.
We also added a critical brace that connects to the rear sill, ensuring the structural integrity of the vehicle.
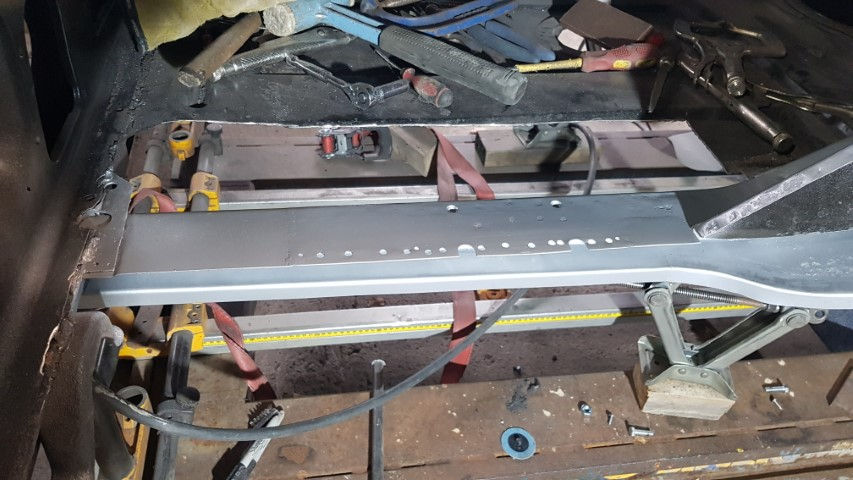
Finally, we fitted the front cross member, a key component that completes the chassis and provides a solid foundation for the rest of the restoration process.


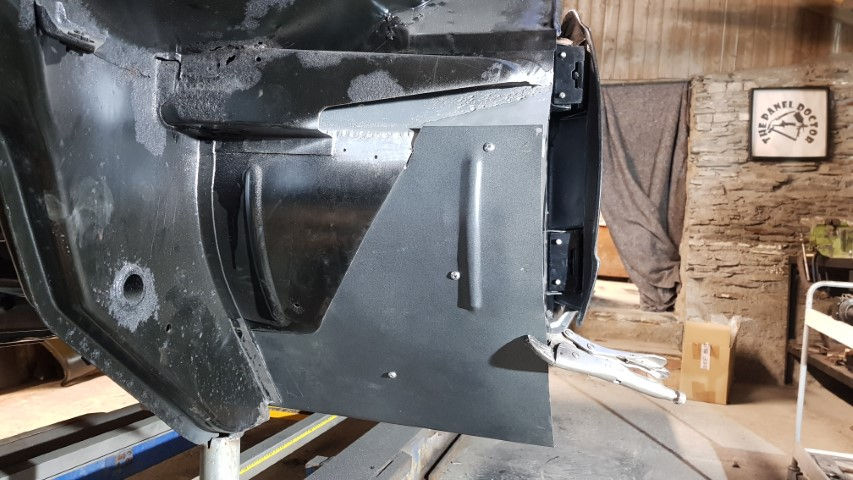
We began by modifying the aftermarket floor panels to ensure a precise fit on the vehicle. This involved reshaping the panels to match the original specifications.
We focused on repairing and combining the lower parts of the cabin, including any damaged or missing components.
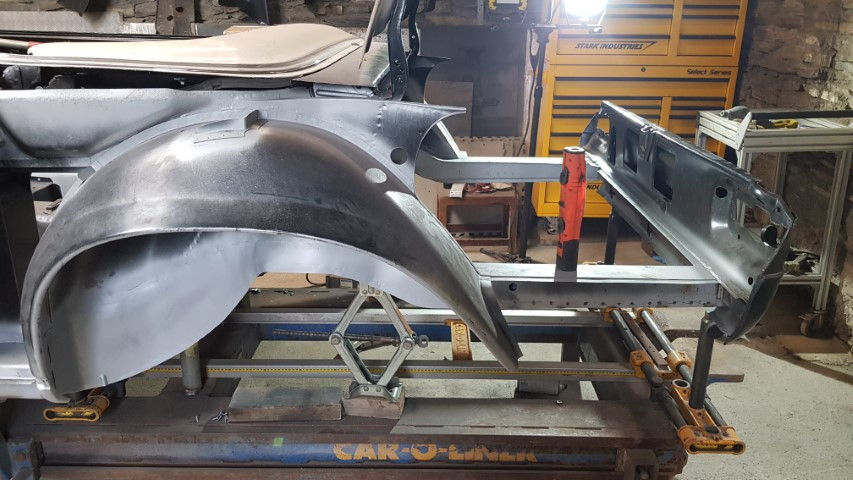
We continued to work on the arch and front and rear chassis legs, making steady progress towards completing these critical components.
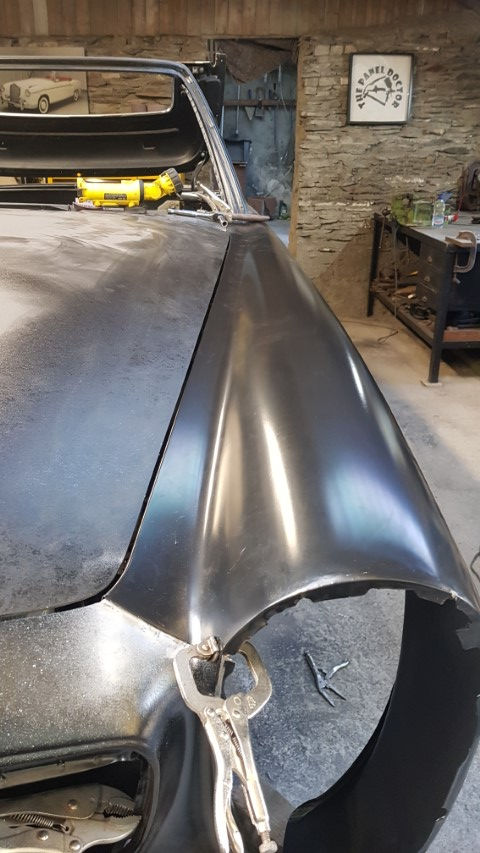
Unfortunately, the hard top had been altered from its original measurements, requiring us to start from scratch. We spent significant time setting up the original dimensions, a painstaking but necessary process.

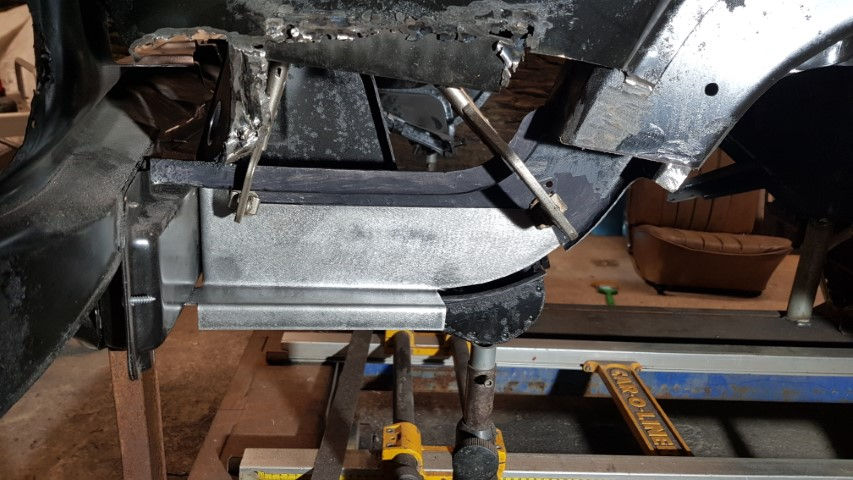
The following step involved the installation of the front flitch panel and other components that attached to it.

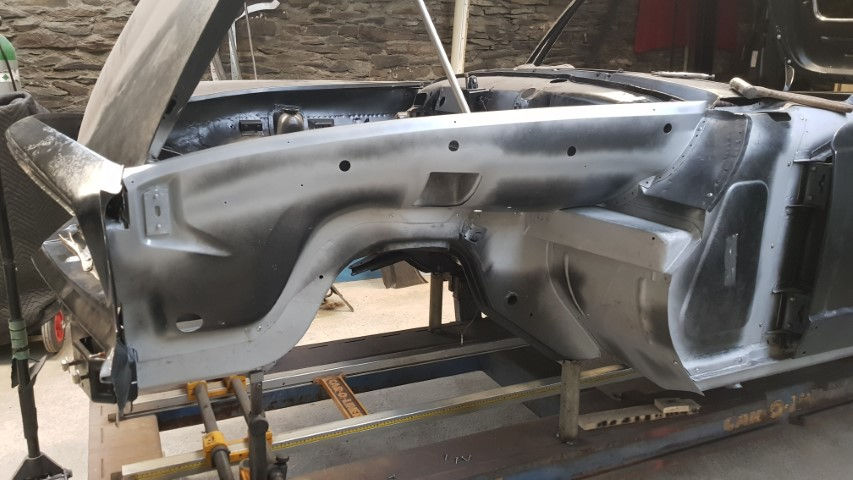
After completing the flitch panel, we thoroughly repositioned all the panels to ensure a perfect fit, requiring multiple attempts to achieve precise alignment.
The old adage holds true: it's better to double-check and triple-check every detail before taking the final step, ensuring a perfect weld that only needs to be done once.

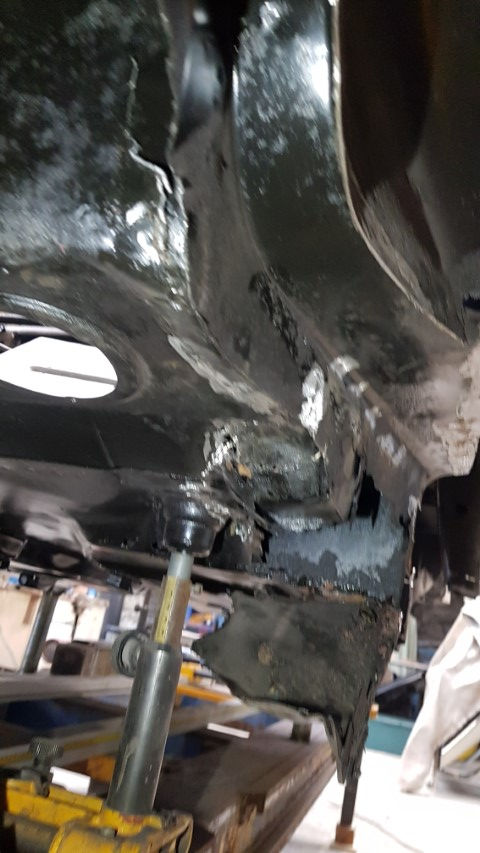
After making significant progress on the first side of the vehicle, we decided to disassemble the corresponding side of the vehicle to ensure a clean start. This involved removing all patchworked components that had been previously attached, which were in poor condition and no longer suitable for use.


Due to the limited availability of original driver-side sills for right-hand driven Mercedes Pagodas equipped with footrests, we always transform the aftermarket panel to restore the vehicle to its original condition. The sill components, which arrived separated into two parts and had developed rust, required careful rust removal and assembly before they could be used.

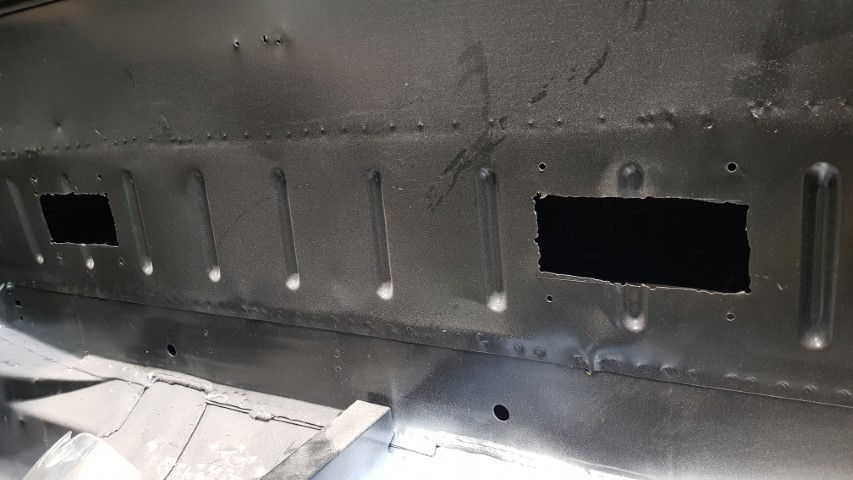
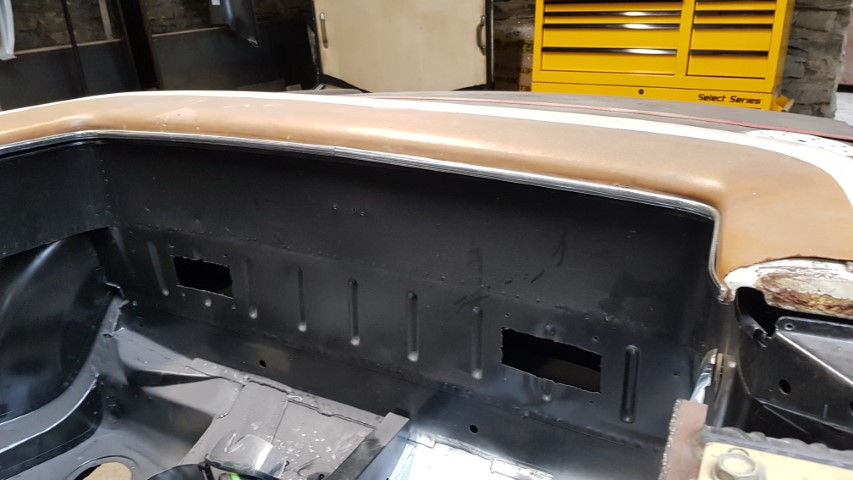
During the soft top bay restoration, we went above and beyond to replace the corroded upper edge and other damaged components, ensuring a smooth and secure operation of the soft top. Additionally, we meticulously repaired the rear bottom cross member and replaced the entire rear suspension joint points to ensure optimal performance and stability.


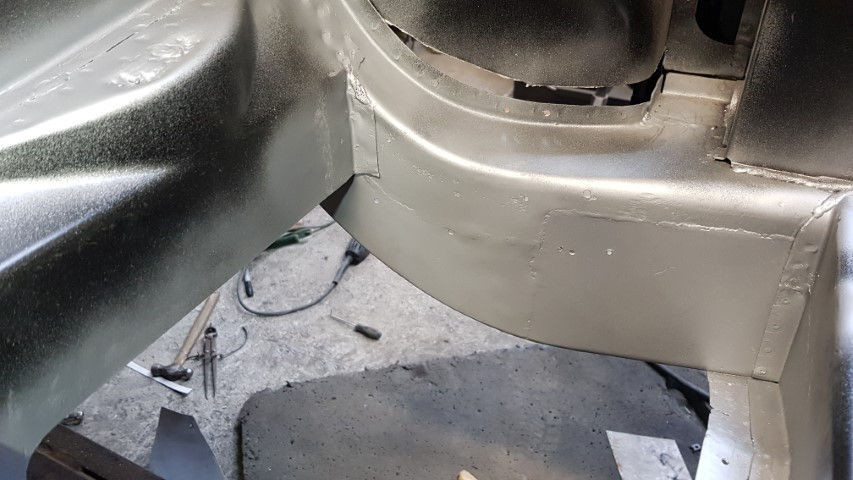
We continued working on the bottom rear cross member and started the repair of the inner arch, taking the next steps in the restoration process.


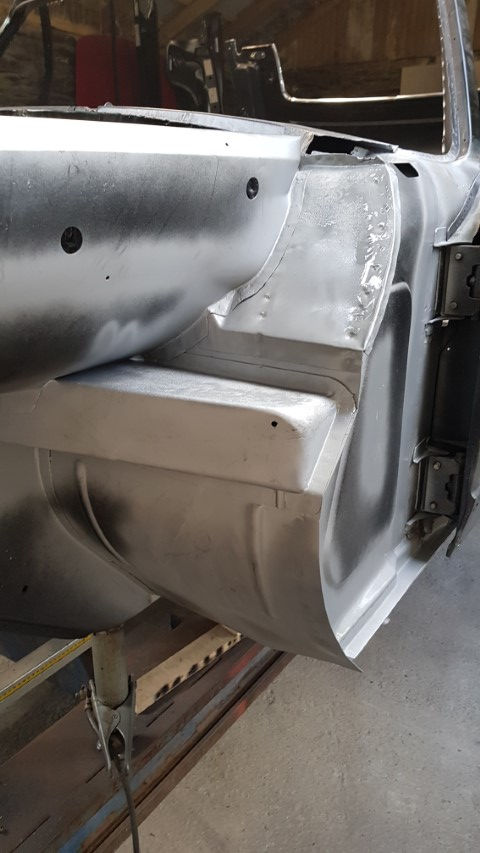
Upon completing the inner arches on both sides, we moved on to welding the outer arches. However, we encountered an issue with the aftermarket panels, which lacked essential drain holes. To rectify this, we had to fabricate the drain holes in the sills, inner wheel arches, front chassis legs, and engine bay cross member. Notably, this attention to detail is often overlooked by other restoration companies.


With the chassis legs securely welded and the vehicle's rigidity ensured without the need for a jig, we were able to remove both rear wings to facilitate the installation of the new boot panel. Once the rear panel was removed, we took the opportunity to clean underneath, as the previous edge had not been properly removed. This omission is often overlooked, resulting in a significant loss of original measurements. Additionally, we cleared out the waste material that had accumulated between the inner and outer rear panels after the acid dip process.


To be continued...